 digitizemypattern
 Template off the job
Pull the template once,
cut it every year.
Cardboard for a bench seat, butcher paper for a boat cushion, a taped-together shape for a dining chair. Right now it lives on a nail in the shop and dies when it warps.
- Year 1 You cut the template off the job and photograph it.
- Year 2 The same customer calls back. The file is still exact.
- Year 3 Six of the same seat. The cutter runs them in one go.
- Year 4 The cardboard is long gone. Nothing changes.
What this actually solves
Three things that stop a shop from ever cutting the same part twice.
The second order
A customer comes back for a matching chair, or the same boat model rolls in again. Without a file the whole template job gets done from scratch, on the clock, by whoever is free.
Cardboard does not keep
Templates warp, get cut down for another job, or disappear behind the roll rack. A file takes no shelf space and does not change shape in July.
Feeding the table
A CNC table needs geometry, not cardboard. This gets you a DXF or a PLT from the template you already made, without learning CAD.
Before and after
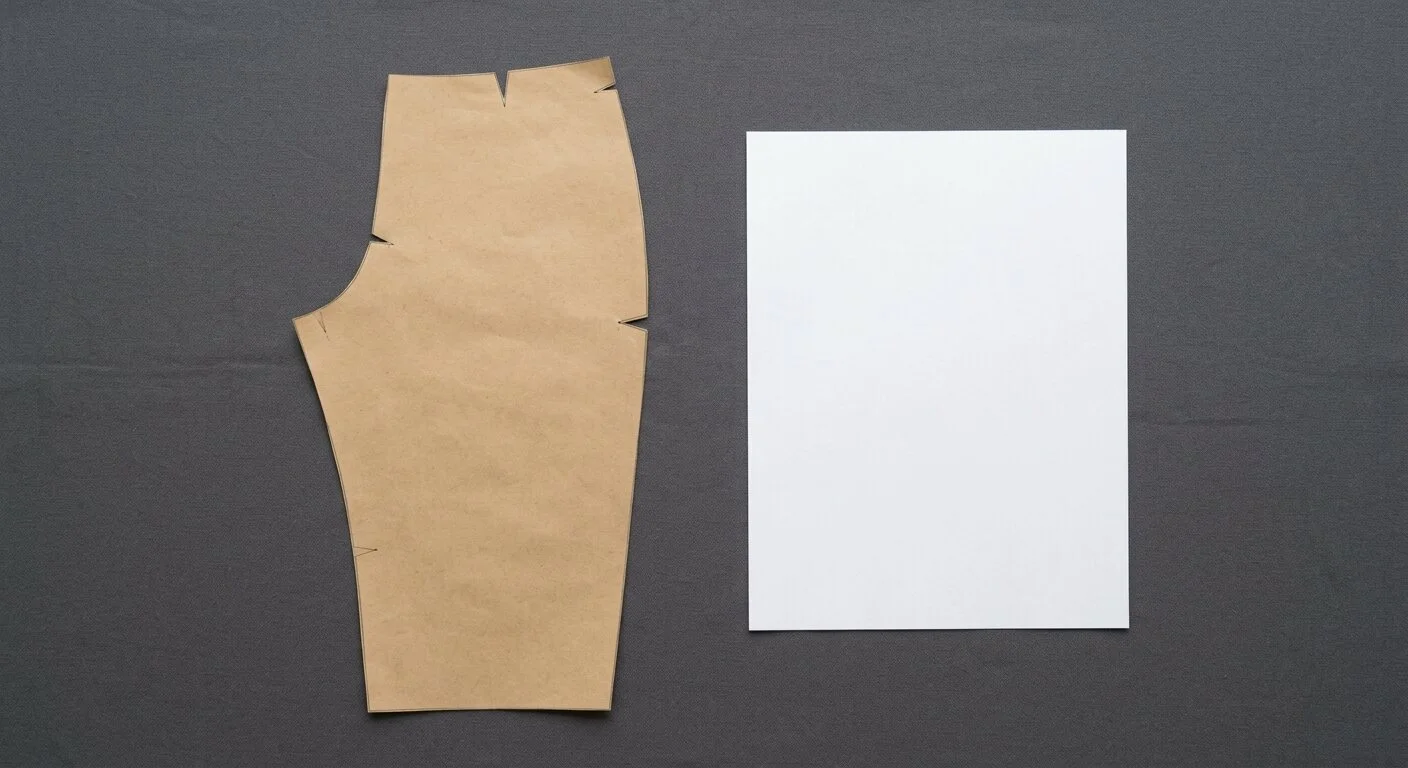
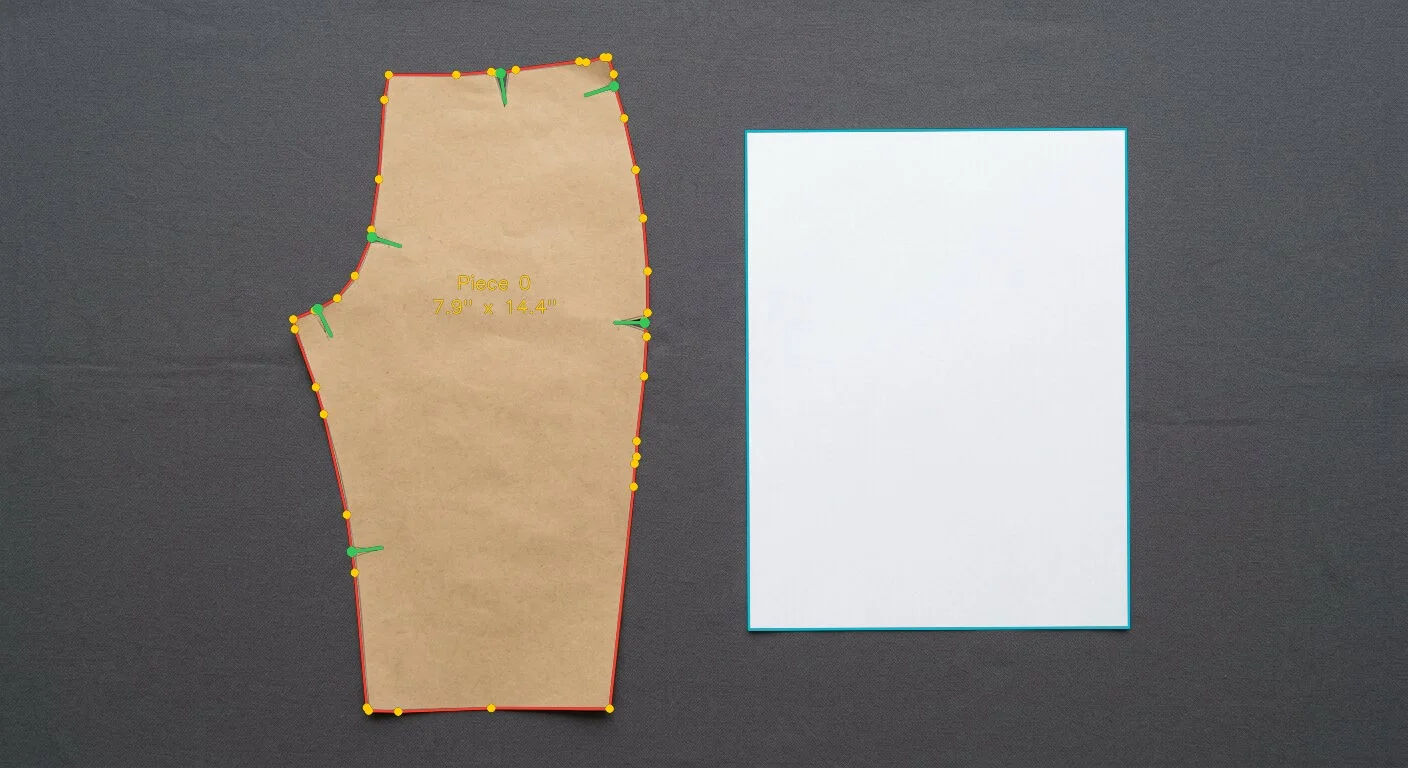
Real photo · real trace · nothing retouched
What goes to the table
HPGL for the cutter
One continuous path with clean pen-up and pen-down moves, ready to run without a conversion step.
- Graphtec, Roland, Mutoh
- HP DesignJet, rolls to 63 in
- Draw or cut
- Same geometry as the DXF
For nesting and CNC
Clean closed geometry that nesting software and CNC tables read directly, with notches on their own layer.
- Opens in AutoCAD and Fusion 360
- Apparel CAD reads it too
- Layers kept separate
- Editable part names
A paper proof
Tiled to Letter or A4 so you can print, tape and lay the proof over the original template before you cut material.
- Test square to confirm scale
- Overlap and join marks
- Assembly map on page one
- Any office printer
How a job gets captured
Do it while the template is still flat on the bench.
Flatten and light it
Template on a contrasting surface, weights on the corners, one sheet of paper in frame.
Shoot from above
Phone parallel to the bench. For a big panel, stand on a step rather than shooting at an angle.
Check the outline
Straighten the edges that should be straight, keep the curves that should curve, mark your reference notches.
Cut and file it
Send the PLT or DXF to the table and keep the file under the customer name for the next order.
Questions from shops
How big a template can I shoot?+
The limit is your camera, not us. Get the whole template and the sheet of paper in one frame, shot square to the bench. For very large panels, shoot from higher up rather than backing off at an angle.
Cardboard, butcher paper or plastic?+
All fine, as long as the template contrasts with what is under it and lies flat. Shiny template plastic needs diffuse light so the reflection does not eat the edge.
Can I mark seams and reference points?+
Notches are detected on the edge and you can add, move or delete them in the editor. Internal reference points and seam allowance are not added automatically; put them in on your side.
We have hundreds of old templates.+
Start with the ones that get repeat orders. For a bulk job tell us the count and we will quote a flat price and a turnaround instead of charging per piece.
Other benches
Start with the template on the nail.
Free while the demo runs. If the outline is off, you fix it yourself.